This post may contain affiliate links.
During this crazy time in the world, we’re all having to sacrifice something. My heart breaks for so many of the sacrifices being made, but being a photographer, one that would be particularly difficult for me would be if I had to give up a photography session for a season that would pass before this social distancing is over. If it had been my own newborn session, for example, that had to be cancelled, I would have been heartbroken. While I can’t offer solutions for the vast majority of problems people are facing right now, I want to help where I can. So… I’ve created a beginner’s guide to taking photos at home.
To keep it as easy as possible, this doesn’t get into a lot of the “why” – just the how. If you have more why questions after reading this, connect with me on Instagram and we can chat!
Not only that, but if you follow this guide and would like some of your images professionally edited, I would be happy to do so. Keep reading for details 🙂 I’m going to break these up into three sections: indoor photography, newborn photography, and outdoor photography. And I’ll keep it all as easy peasy as possible – promise! First…let’s talk about what kind of camera you have.
Camera Type
So this particular guide is going to be helpful whether or not you’re using a DSLR aka “Fancy Mom Camera,” a point-and-shoot aka “small camera” or a phone.
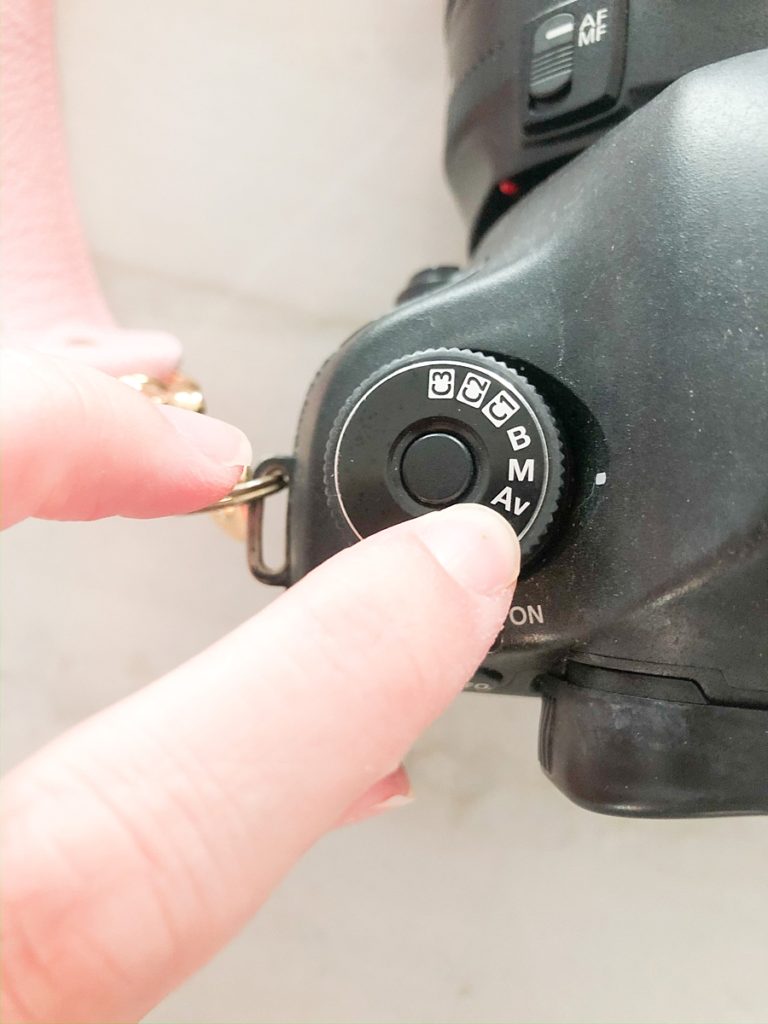
If you’re using a fancy mom camera outside, I recommend changing your camera to the “Av” mode for Canon, or “A” for Nikon. This is aperture priority mode. Once you have it there, you will see a number with an F next to it- like F4.0. Use your adjuster wheel to move this number to the smallest number your lens will go to. It might look like F1.8, F4.0 or F5.6 depending on your lens. Some small cameras also have this setting if you would like to try it!
If you’re using it inside, you can keep it in portrait mode. This may mean nothing to you- if you use Av inside, it could make your pictures blurry.
Indoor Photography
There are a few steps you’re going to want to take to get your best images inside.
- Turn off all the lights. And tv. You don’t want this light to mess with your pictures.
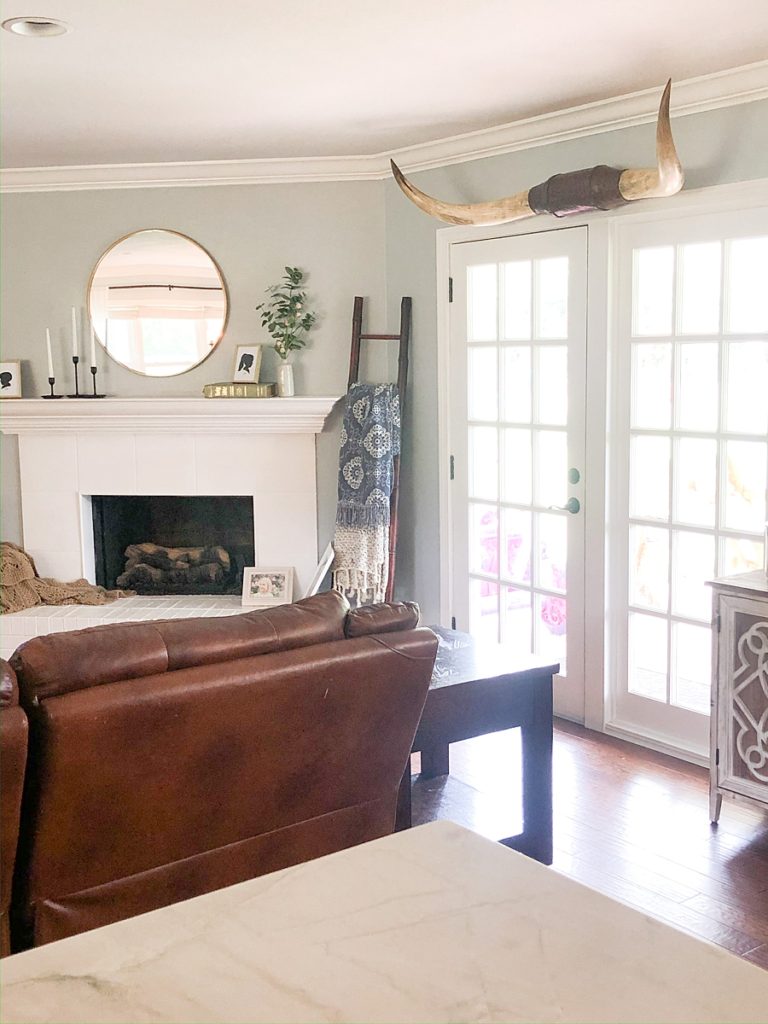
- With all of the lights off, find where the brightest spot in your home is. For me, that’s near my back door. (Yes, there are steer horns over my back door. No, I’m not in Texas. Hubby came home from work with them one day….but that’s a story for another time 😉 ). Your living room may be bright and wonderful, and your couch beautifully lit. Mine is not, so I’ll show you how to work with it.
- Scout the area near your light. You’re going to want to avoid any dark backgrounds as much as possible. So, using my example, I would not choose to put my subject on my couch. If I put my subject on my fireplace, I would do my best to not get my floor or the dark hole of the fireplace in the images. Or if you have a well-lit bedroom with a light bedspread and headboard, that would be a good option. And if you have a dark couch, you can place a white comforter over it.
- Declutter. Take anything distracting and move it out of the way.
- Place your subject. Once you’ve found the right spot, sit your subject so they are looking at the light source. In other words, their eyes should be looking toward the window.
- Take your pictures! Move your feet, get different angles, up close and far away.
Newborn Photos
If you’re having to take your own newborn images during this time of social distancing, I’ll leave you with a few tips. First though…this is a TWO PERSON JOB. DO NOT try to take these without a second person whose job is solely to pay attention to and spot baby. Safety first!
- Make sure your home is (probably uncomfortably) warm. 77-78 degrees is good!
- Follow indoor image steps 1-3. If you have a light colored bedspread with a light headboard in a well-lit room, take step 4 and declutter the area around your bed.
- Find something to put your newborn on. Chances are, you don’t have a newborn posing bag laying around. Here are some other ideas: a crib mattress, pile of thick blankets with a light colored one on top, light colored furniture, bean bag, even a light rug. I recommend a light surface- white, light grey, beige. If the surface isn’t light, put a blanket down over it.
- Prep the area. Place a heating pad down. If it doesn’t have a keep warm setting, put it down to warm the area, then pick it up before putting baby down. Turn some white noise on loud. The click of the camera can startle baby if you’re using a fancy mom camera.
- Prep your newborn. Fed and sleepy is good. Simple is best when it comes to props- or lack thereof. Dress baby in either a white onesie, or a white diaper. We use Hello Bello on the regular, but Pampers swaddlers are best for pictures.
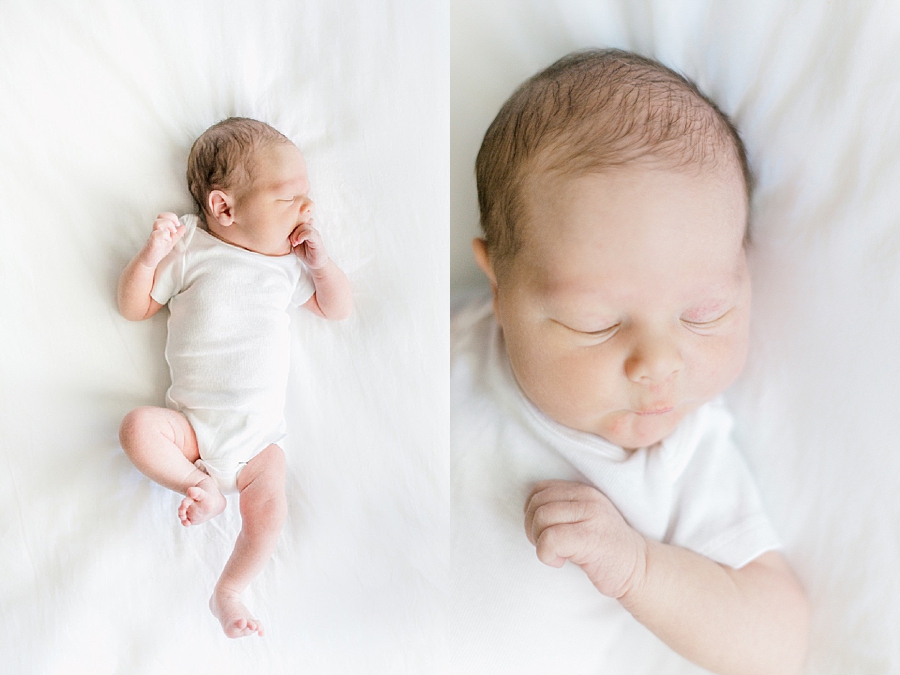
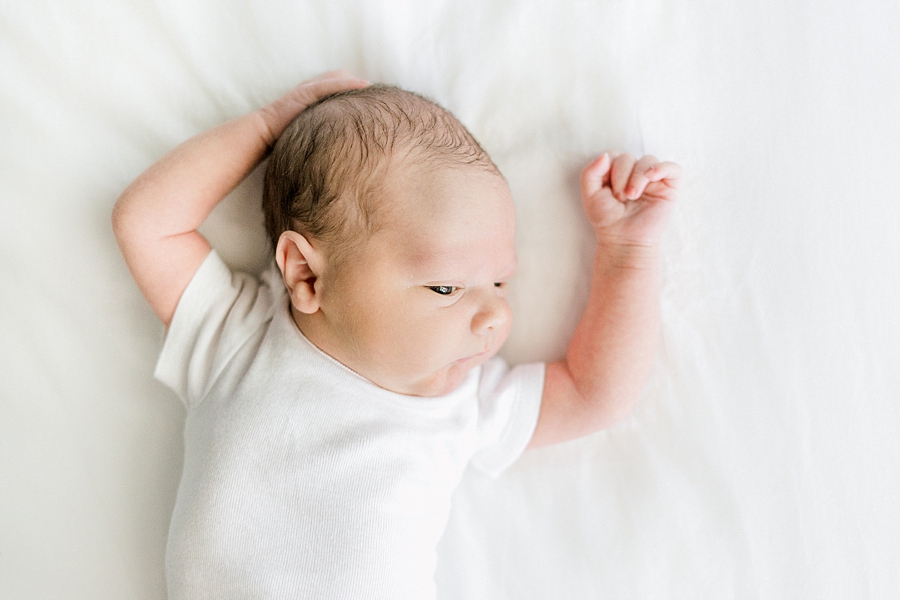
- Fed and sleepy, lay baby down on his/her back so his/her face is looking at your window. If you have a small neutral swaddle blanket, you can lay baby in that. If not, don’t stress it. Baby in a diaper is simple and will allow you to remember all of his/her sweet new features.
- Take your pictures! Vary your angles…though don’t point the camera up their nose 🙂 and get some images of their little hands and feet.
Outdoor Photography
If you have older kids you would like to take portraits of during this time- or a high school senior! – outdoor photographs are a great option.
- Plan ahead. You will want to take these images about an hour to an hour and a half before sunset, so google when that will be in your area.
- Pinpoint which direction the sun is setting in. You will want the sun to be behind where you are shooting.
- Scout your location. So….our options are obviously limited. I’m not advising going out and finding a new location right now, but to scout your yard. Try to find a decluttered background- the fewer distractions the better.
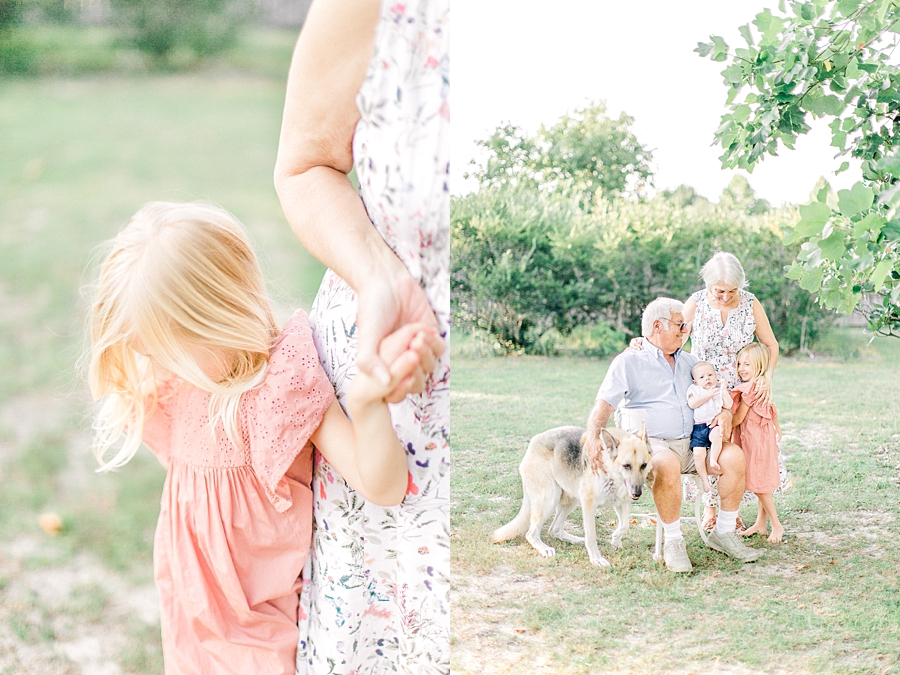
- Place your subject. Once you’ve determined where you want to photograph, place your subject with their back to the sun. Also, if you are shooting with trees, a fence, or anything in your background, people tend to want to stand close to that. Fight your instinct. Stand as far away from possible from the objects in the background while still keeping the background clean.
- Take your pictures! With their back to the sun, you will be pointing your camera in the direction of the sun. Take a couple of steps to the left or right- you don’t want to be shooting in a straight line toward the sun. Vary your angles. Get close, back up as far as possible.
Final Note
Don’t get discouraged if your pictures don’t look like the pros. We’ve been practicing our techniques, learning about light, and finding our groove for years! These images aren’t about perfection, they’re for preserving your memories as well as you can in a tough situation. You’ve totally got this!
If you get through this guide, take your images with a camera and decide that you would like them edited by a professional, I would be honored to help! I will happily edit them for a rate of $10 per three images. Just email me at nicole@nicolebieleninphotography.com with your name and how many images you have. I can take the rest from there!
If you get through this guide, take your images with a phone and decide that you would like to edit them more, I highly recommend Kindred’s mobile presets. Check them out here!
I hope you’ve enjoyed my beginner’s guide to taking photos at home! Let’s connect on Instagram!
Nicole Bielenin Photography specializes in photography of the early years in the Florida Panhandle including maternity, newborn, baby, and family photography. Based in Baker, Nicole travels to surrounding areas including Pensacola, Navarre, Gulf Breeze, Niceville, Destin, Santa Rosa Beach, Seaside, Rosemary Beach, and other 30a communities.
I love to travel, and also work with families outside of this area! If you are looking for a Northwest FL family photographer, I would love to start planning your own family session! To see more of my portfolio, please click here.
Your experience begins with a style guide and complementary consultation call, if desired, to plan your family’s wardrobe. It ends with a full digital gallery of gorgeous images full of love and life. Even more special, I offer packages and à la carte artwork including a variety of exclusive fine art prints, albums, and other heirloom tangibles.
If you would like to reserve your date on my calendar, please click here or email me directly at nicole@nicolebieleninphotography.com.